Adobe Forms - Using Alternative
By Jayachandra Nagaram, YASH Technologies
In this demo we will create adobe form, which displays two different table data in different scenarios based on the given input. This functionality is achieved by using Alternative in adobe forms.
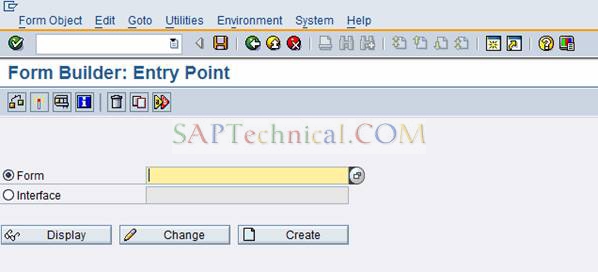
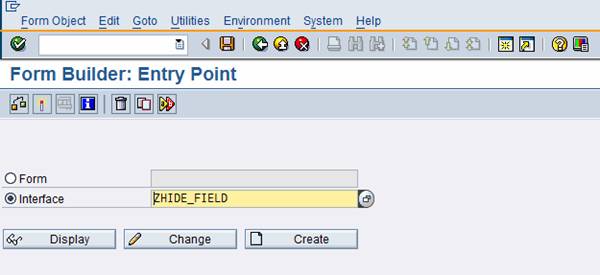
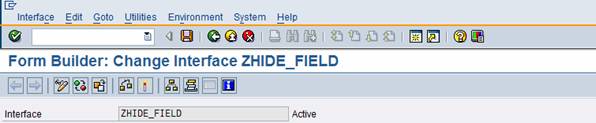
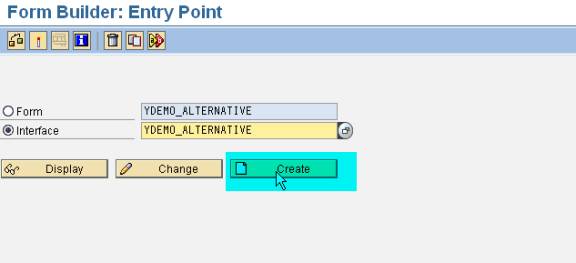
Step1: Go to SFP transaction and create interface for the Adobe form.
Note: Maintain Interface type ABAP-Dictionary Base interface. (IN ECC6.0 Version)
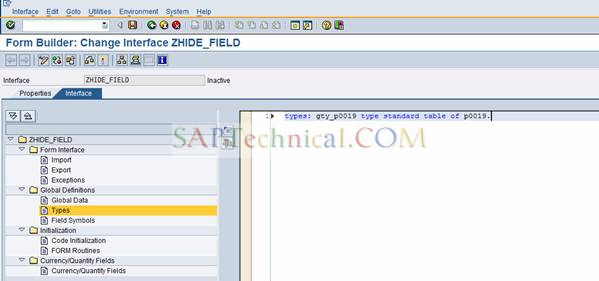
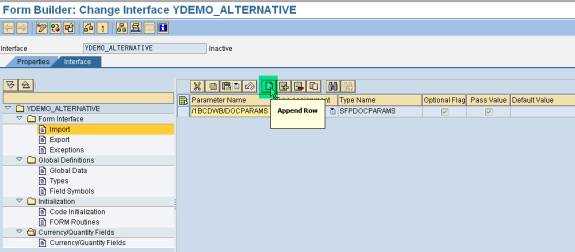
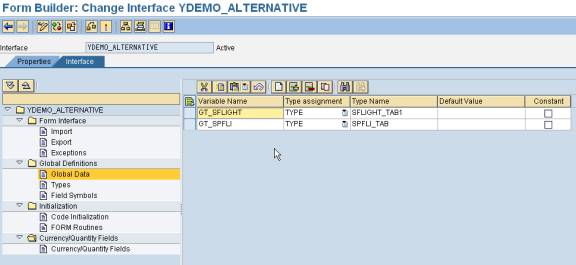
Step2: In interface you will find import, export and Exceptions.
Create import parameters by clicking on below shown create button.
Step3: Create import parameters IT_SPFLI and FLAG.
The import parameter IT_SPFLI is used to input data and FLAG is used to select the table that should be displayed in the Output. Here the details of either SPFLI or SFLIGHT are displayed depending on the FLAG.
Step4: Create two global tables SPFLI and SFLIGHT to hold the data that needs to be displayed in the output.
Step5: Code for fetching the data is written in the code initialization part of interface.
In code initialization the variables whose values are being passed to the code to fetch the details of the output should be declared in the Input parameters and the variables to which the results are assigned needs to be declared in the Output parameters.
Step6: Write the below code in code initialization part. Check for errors and activate the interface.
select *
from spfli
into table gt_spfli
for all entries in it_spfli
where carrid eq it_spfli-carrid
and connid eq it_spfli-connid.
select *
from sflight
into table gt_sflight
for all entries in it_spfli
where carrid eq it_spfli-carrid
and connid eq it_spfli-connid.
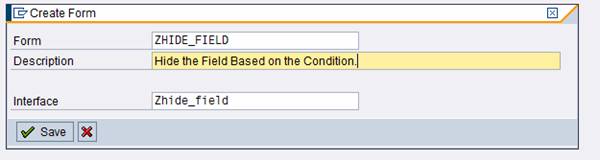
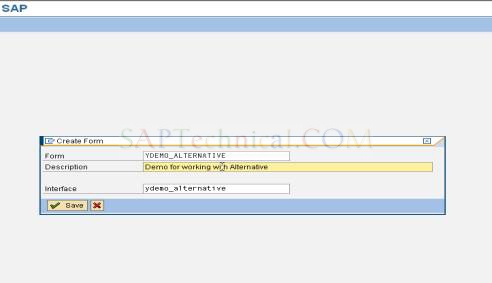
Step7: After the interface part is done, create Form by going to SFP transaction.
Step8: In the creation of the Form, we need to give the name of the interface for which we are creating the Form. This is the additional functionality in Adobe forms. One interface can be used for many Forms if it is suitable.
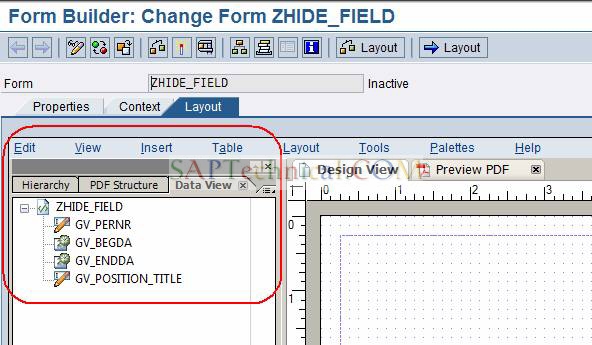
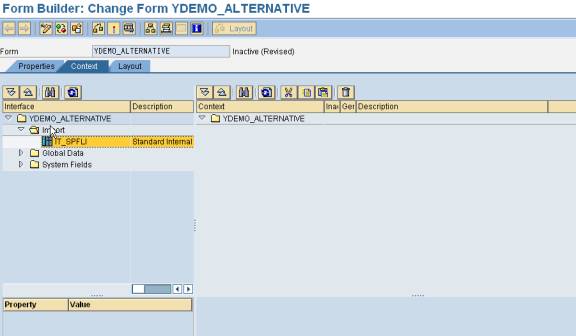
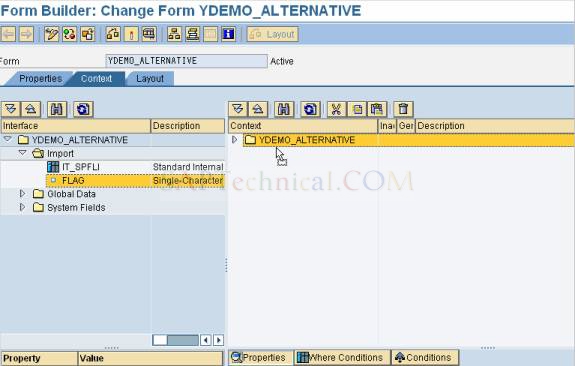
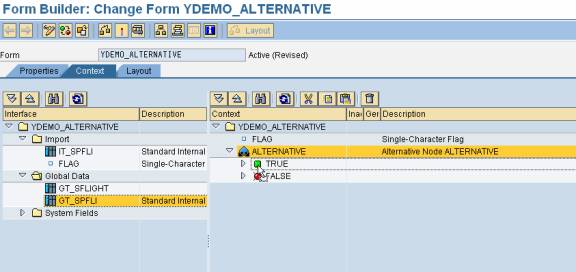
Step9: In the Context tab of the Form we will find two sections Interface and Context.
In Interface we will find the data that was created in the interface. Content area will be blank initially. We need to drag the elements that need to be displayed in output into the content area.
Step10: Drag and drop element FLAG into context area.
Step11: Select folder YDEMO_ALTERNATIVE in context and create an ALTERNATIVE. Right-clicking on the folder go to create--> Alternative.
Step 12: In Alternative will find two nodes TRUE and FALSE.
Initially both are blank.
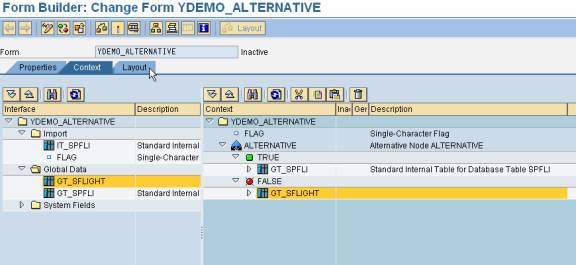
Step13: Drag and drop table GT_SPFLI from Global data to TRUE node and de-activate fields which we don't need.
Step14: Drag and drop table GT_SFLIGHT from Global data to FALSE node and de-activate fields which we don't need.
Step15: Select the Alternative conditions tab and create condition for alternative.
Create condition as FLAG = INITIAL.
Means subform TRUE will be triggered when the flag is initial and subform FALSE will be triggered when there is some value in flag variable (NOT INITIAL).
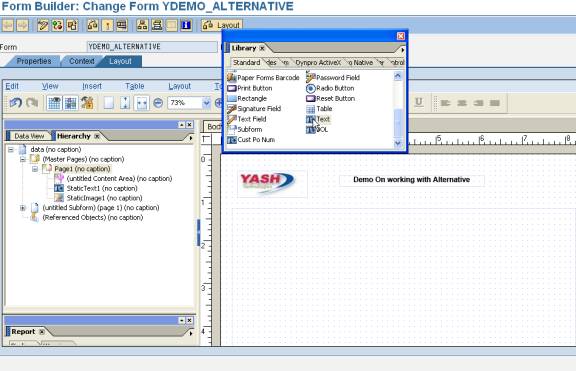
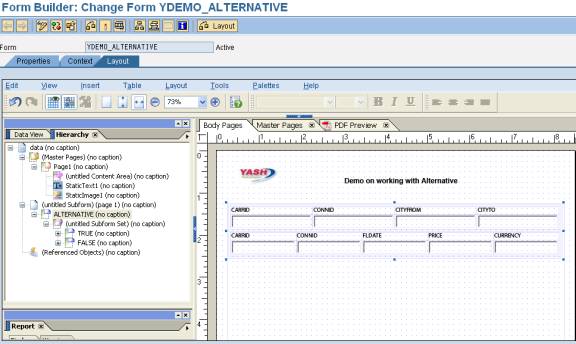
Step16: Select tab page LAYOUT for going to Adobe layout.
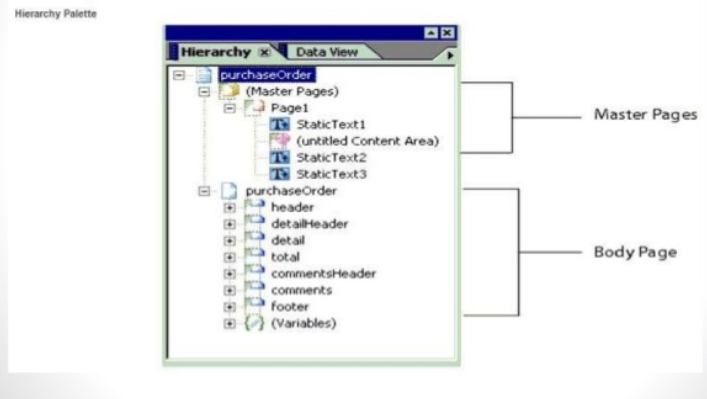
In Layout, go to MASTER page decrease the page area and create the boiler plate elements, such as text and image elements. We can create these from dragging the elements from library.
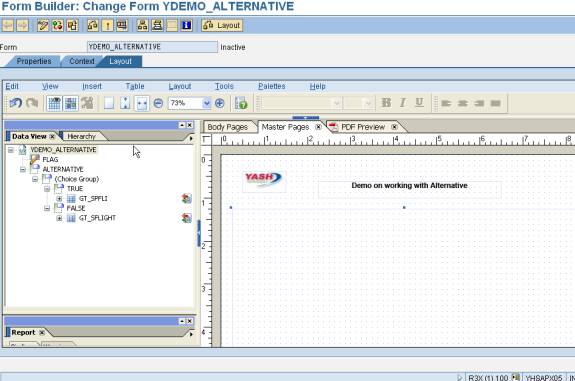
Step 17: In data view we will find subform ALTERNATIVE, with in it tables will be placed in TRUE and FALSE subforms using choice subform set.
Step18: Drag and drop complete ALTERNATIVE subform into body page from data view.
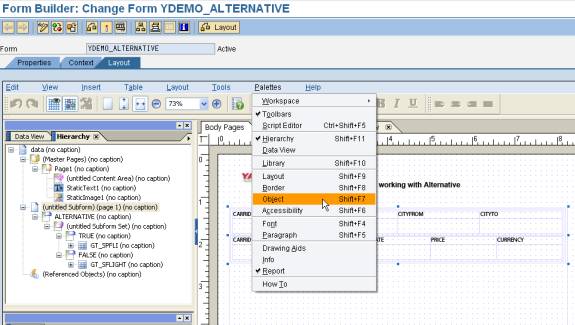
Step19: Select body page and go to the object view from the palettes.
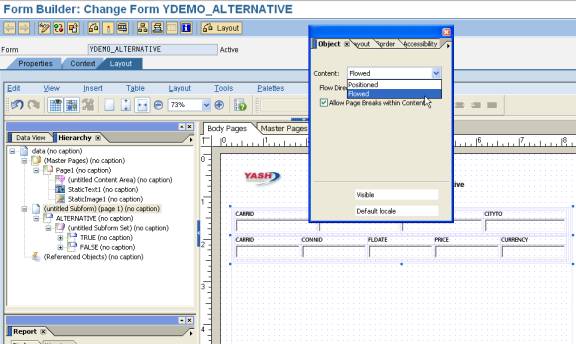
Step20: Go to SUBFORM tab; make the body page content FLOWED, Flow direction TOP TO BOTTOM.
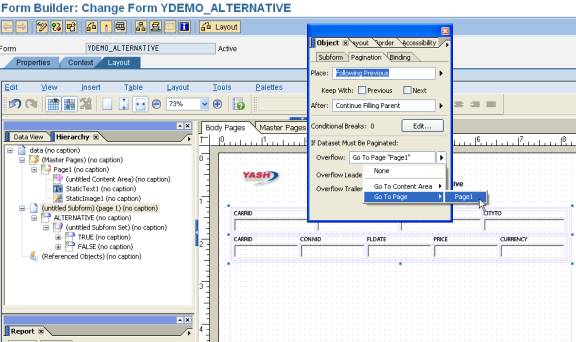
Step21: Go to Pagination, set over flow to ‘Go To Page "Page1"’.
This should be done in order to flow the content to the next page when first page is filled completely.
Step22: Set subforms ALTERNATIVE, TRUE, FALSE content also to be flowed.
Step23: Select the elements in table data and set the appearance to ‘None’.
Step24: Save and activate the form.
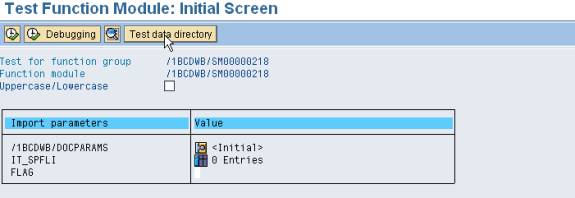
Execute the form to see the below screen.
Here for output we will have two scenarios.
Step25:
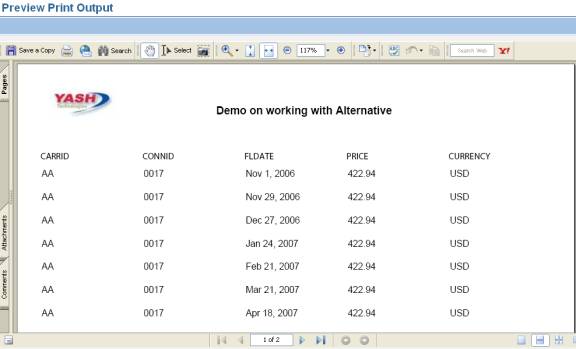
SCENARIO 1: When the FLAG is INITIAL, SPFLI data will be displayed in output.
SCENARIO 2: When the FLAG is NOT INITIAL, SFLIGHT data will be displayed in output.
Step26: Select the table IT_SPFLI to give the input data. Give inputs to the table.
Step27: Now there are three entries in the table IT_SPFLI and the FLAG is BLANK.
Step28: Subform TRUE will be triggered when FLAG is INITIAL. And SPFLI table data will be displayed in output.
Step29: Maintain same data in IT_SPFLI and give 'X' in FLAG. Scenario 2 will be triggered.
Step30: Output screen displays SFLIGHT table data;